The Snippet Creation Process
After navigating to the Snippets page and clicking ”+ Create Snippet”, you will be guided through the following steps.1. Basic Setup: Name and Type
Every snippet starts with two essential settings:
- Name: A clear, internal name for the snippet (e.g., “Welcome Message,” “Pricing Inquiry”). This is what your agents will search for in the Chat Inbox to find the right quick reply.
- Type: The kind of message you want to create. The options available in the builder will change based on the type you select here. The available types are:
- Text: A simple text-only message.
- Image: An image with an optional caption.
- Video: A video with an optional caption.
- Document: A document (like a PDF) with an optional caption.
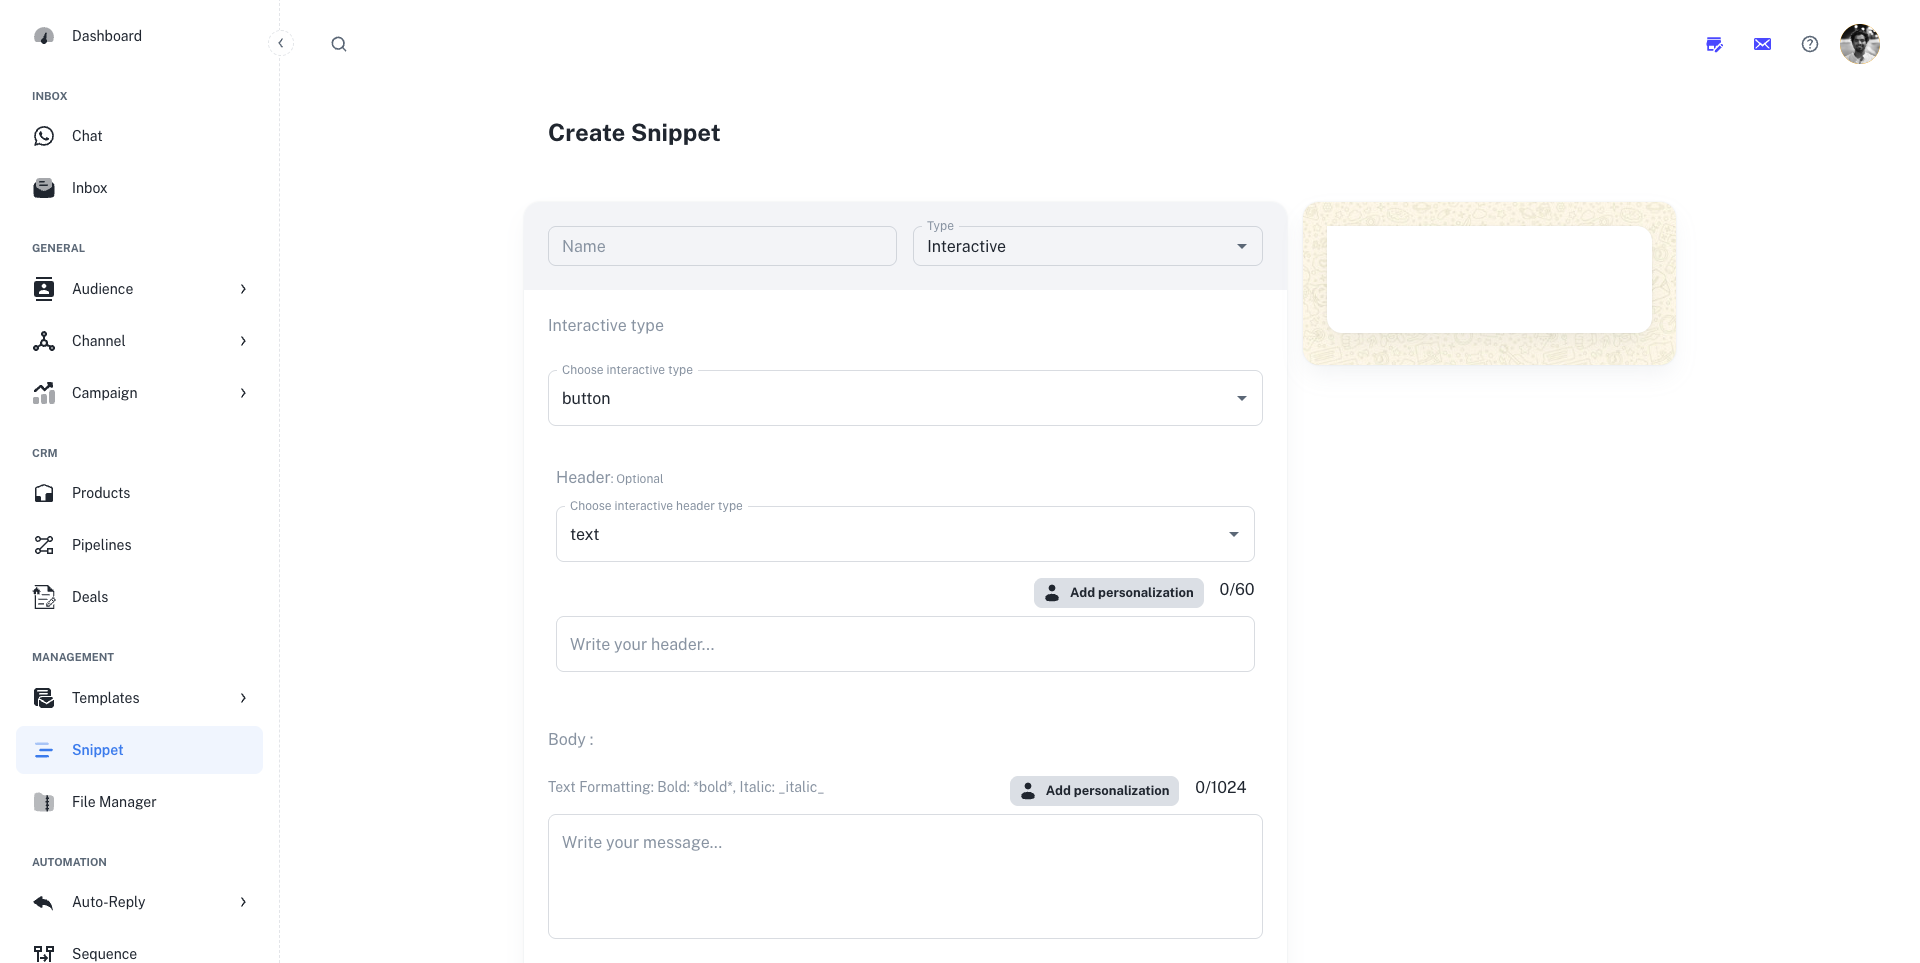
- Interactive: A message that includes a header, body, footer, and interactive buttons or lists.
2. Composing Your Snippet Content
This is where you’ll build the actual message. The interface will adapt based on the Type you selected in Step 1.
- Text Snippets
- Media Snippets (Image/Video/Document)
- Interactive Snippets
This is the most straightforward snippet type, perfect for simple text replies.
- Text: Write your message in the main text box. You have up to 4096 characters.
- Add personalization: Click this button to insert variables like
{{FIRSTNAME}}or{{CODE}}that will be automatically replaced with the contact’s data. - Link Preview: If your text contains a URL (e.g.,
https://adsera.in), check this box to automatically generate a rich link preview thumbnail in the WhatsApp chat.
3. Finalize and Create
As you build your snippet, use the live Preview on the right side of the screen to see exactly how your message will look on a mobile device.Once you are satisfied with your snippet, click the “Create” button at the bottom to save it to your library. It will now be available for your agents to use in the WhatsApp Chat Inbox.