LEAD, CUSTOMER, FOLLOW UP).
Want to Manage Contact Labels? Go to the AdsEra Labels Page →
This system is crucial for organizing your audience, running targeted campaigns, and managing conversations in the Chat Inbox.
Creating a New Label
Adding new labels to your system is quick and easy.1. Open the 'New Label' Modal
Click the ”+ New Label” button located in the top-right corner of the page.
2. Define Your Label
A “Create label” modal will appear. You need to provide two details: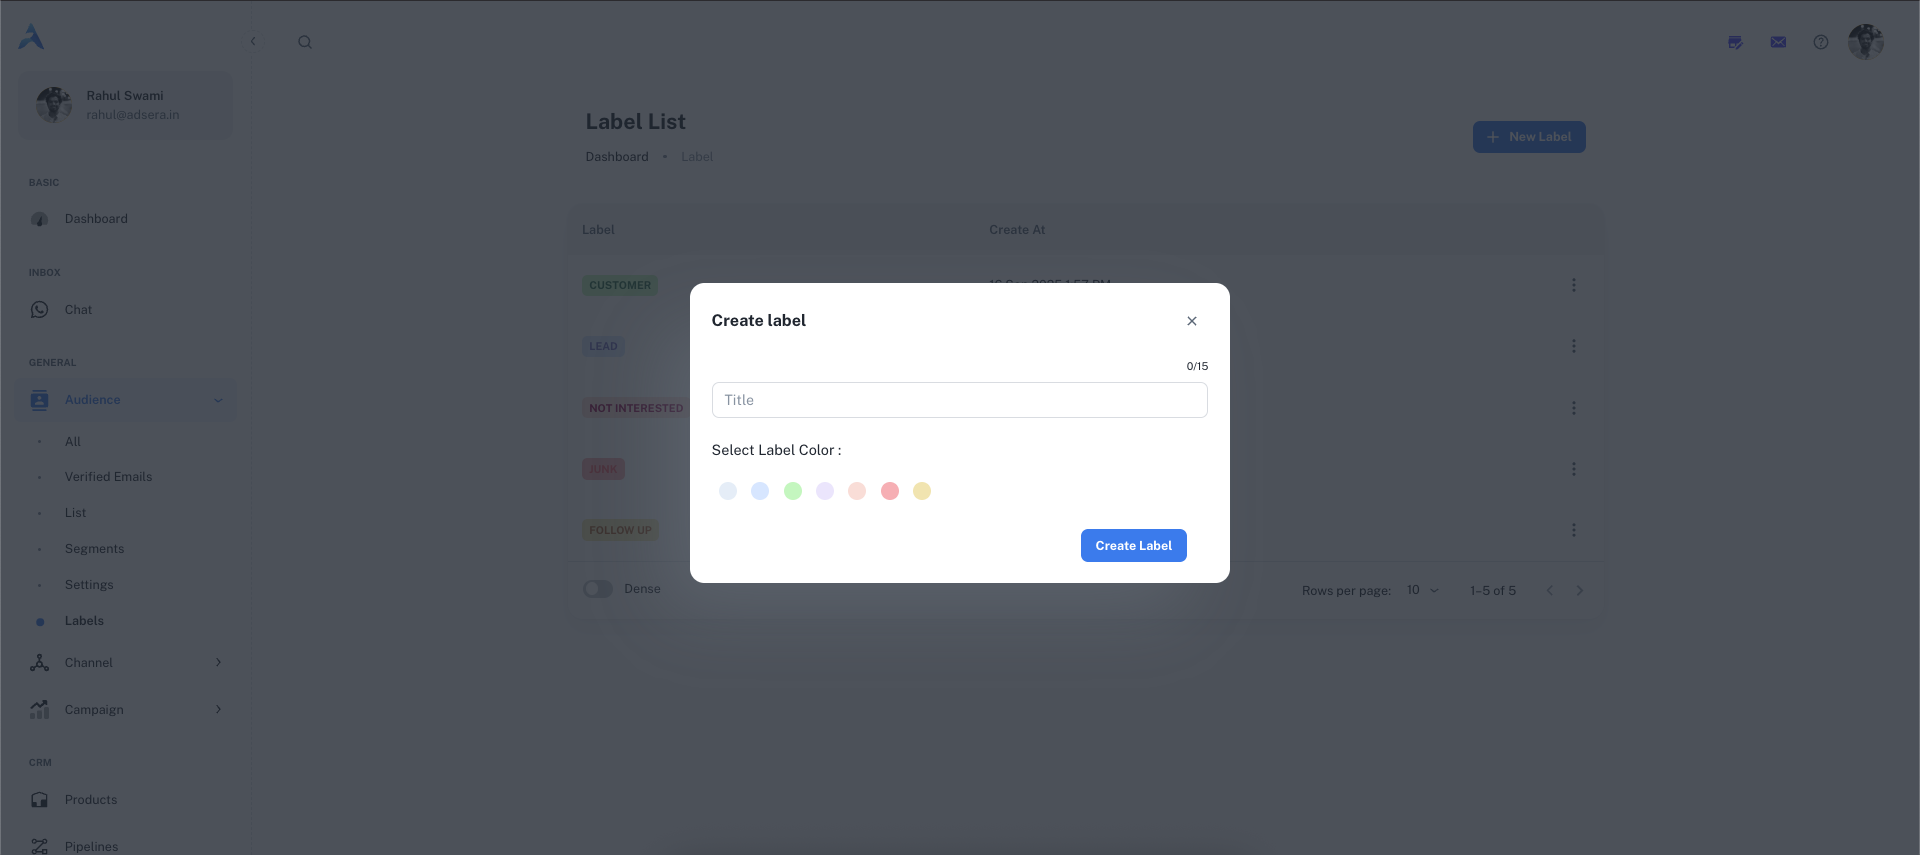
- Title: The name of your label (e.g.,
Lead,Support-Ticket,VIP). This field has a 15-character limit. - Color: Select a color from the palette to make your label easily identifiable.
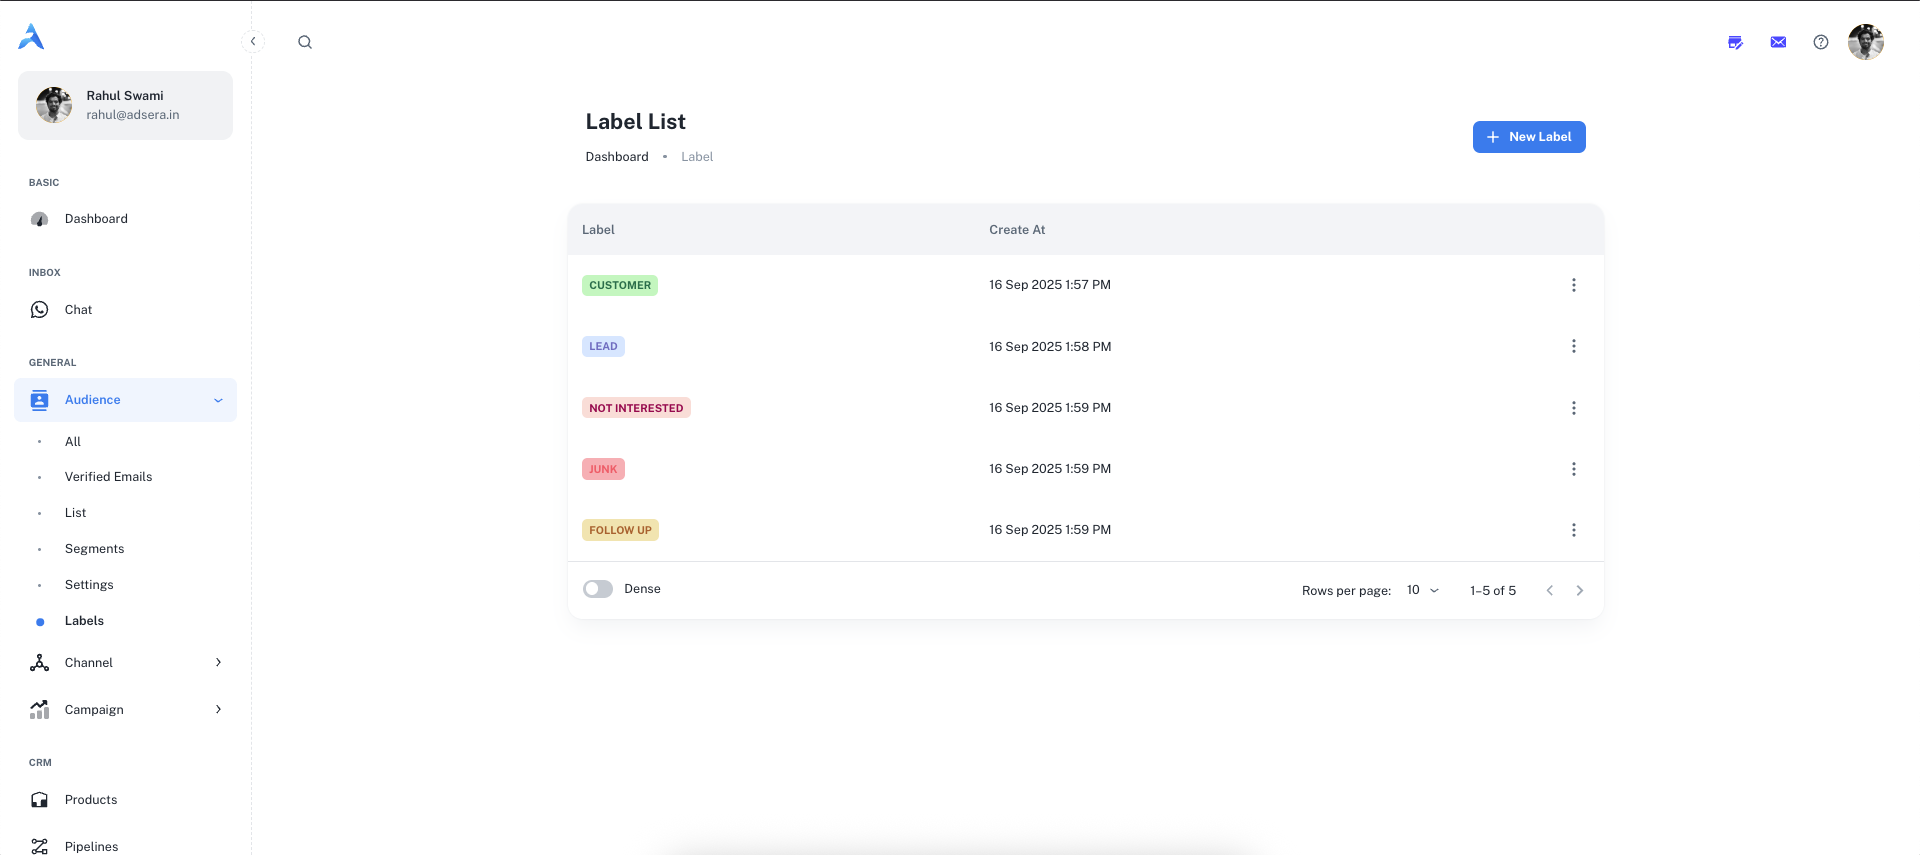
Managing Your Labels
The main table on this page lists all the labels you have created.| Column | Description |
|---|---|
| Label | A preview of the label, displayed in its chosen color. |
| Create At | The date and time the label was created. |
| ⋮ (Actions) | A menu of actions you can perform on the label. |
Label Actions (The ⋮ Menu)
Clicking the three-dot menu on any label row allows you to manage it:- Edit: This will open a modal allowing you to change the label’s name and color.
- Delete: This permanently removes the label from the system.
How to Use Labels
Labels are integrated across the AdsEra platform to make your workflow more efficient.In the Chat Inbox
Agents can apply labels directly to contacts during a conversation to categorize them in real-time. Learn more in the Chat Inbox guide.
For Bulk Actions
Select multiple contacts on the All Audience page and apply or remove a label for all of them at once.
To Create Segments
Labels are a powerful filter criterion. Create dynamic segments of contacts who have (or do not have) a specific label.