Before You Begin: The 3 Essentials
To ensure a smooth setup, please complete the following steps first.Step 1: Prepare Your Meta Business Manager
You must have an admin account for your Meta Business Manager. This is required to grant the necessary permissions. If you don’t have one, you can create it at business.facebook.com.
Step 2: Prepare a Fresh Phone Number
The phone number you intend to use must meet these criteria:
- It is not currently registered on the personal WhatsApp or WhatsApp Business app.
- It can receive an OTP (One-Time Password) via SMS or a voice call.
- It will be used exclusively for the WhatsApp API.
The Onboarding Flow
Once your prerequisites are met, you can begin the connection process.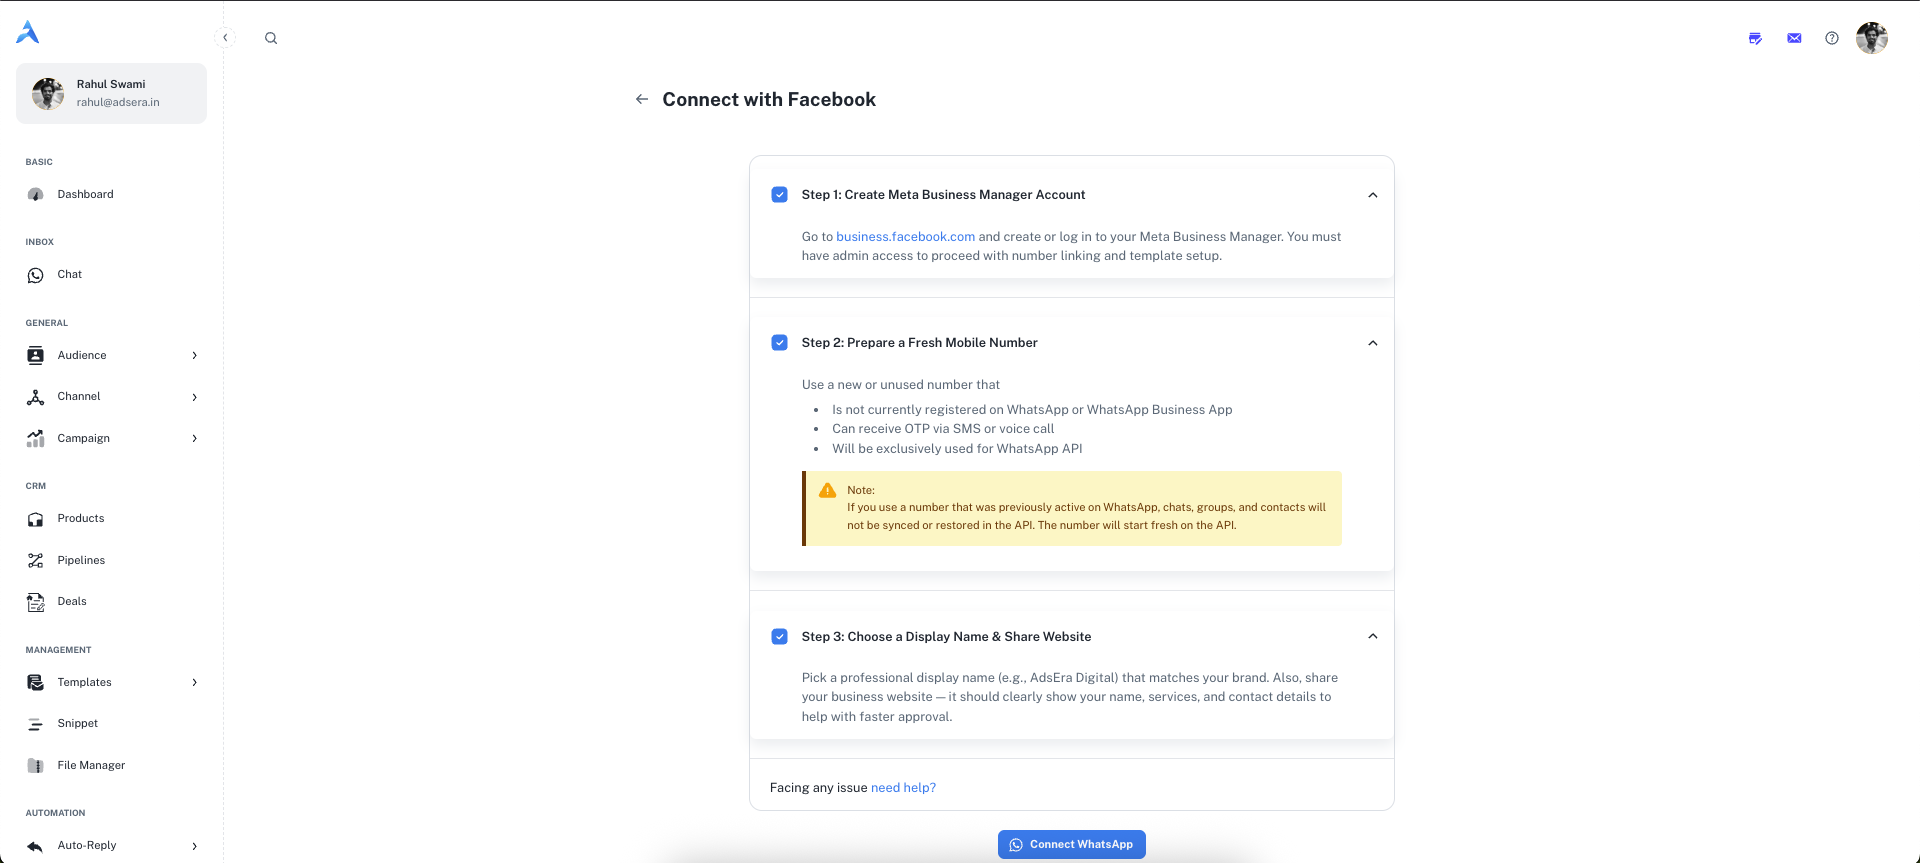
- Navigate to the WhatsApp Channel page and click ”+ Add WABA”.
- On the “Connect with Facebook” page, review the steps and click the “Connect WhatsApp” button.
- A secure pop-up window from Meta will open to guide you through the official onboarding.
Official Meta Documentation: This pop-up is a secure flow managed directly by Meta. For a detailed preview of each step within the pop-up, you can refer to Meta’s official Embedded Signup documentation.
- Inside the pop-up, you will be asked to:
- Log in to your Facebook account.
- Create or select your Meta Business Account.
- Create or select your WhatsApp Business Account (WABA).
- Create or select your WhatsApp Business Profile.
- Verify your new WhatsApp Business phone number with an OTP.
- After completing all steps, the pop-up will close automatically. Your new WABA will now be connected and will appear in the dropdown list on your AdsEra WhatsApp Channel page, ready to use!