> ## Documentation Index
> Fetch the complete documentation index at: https://docs.adsera.in/llms.txt
> Use this file to discover all available pages before exploring further.
# Contact Attributes Settings
> Create and manage custom data fields to store personalized information about your contacts.
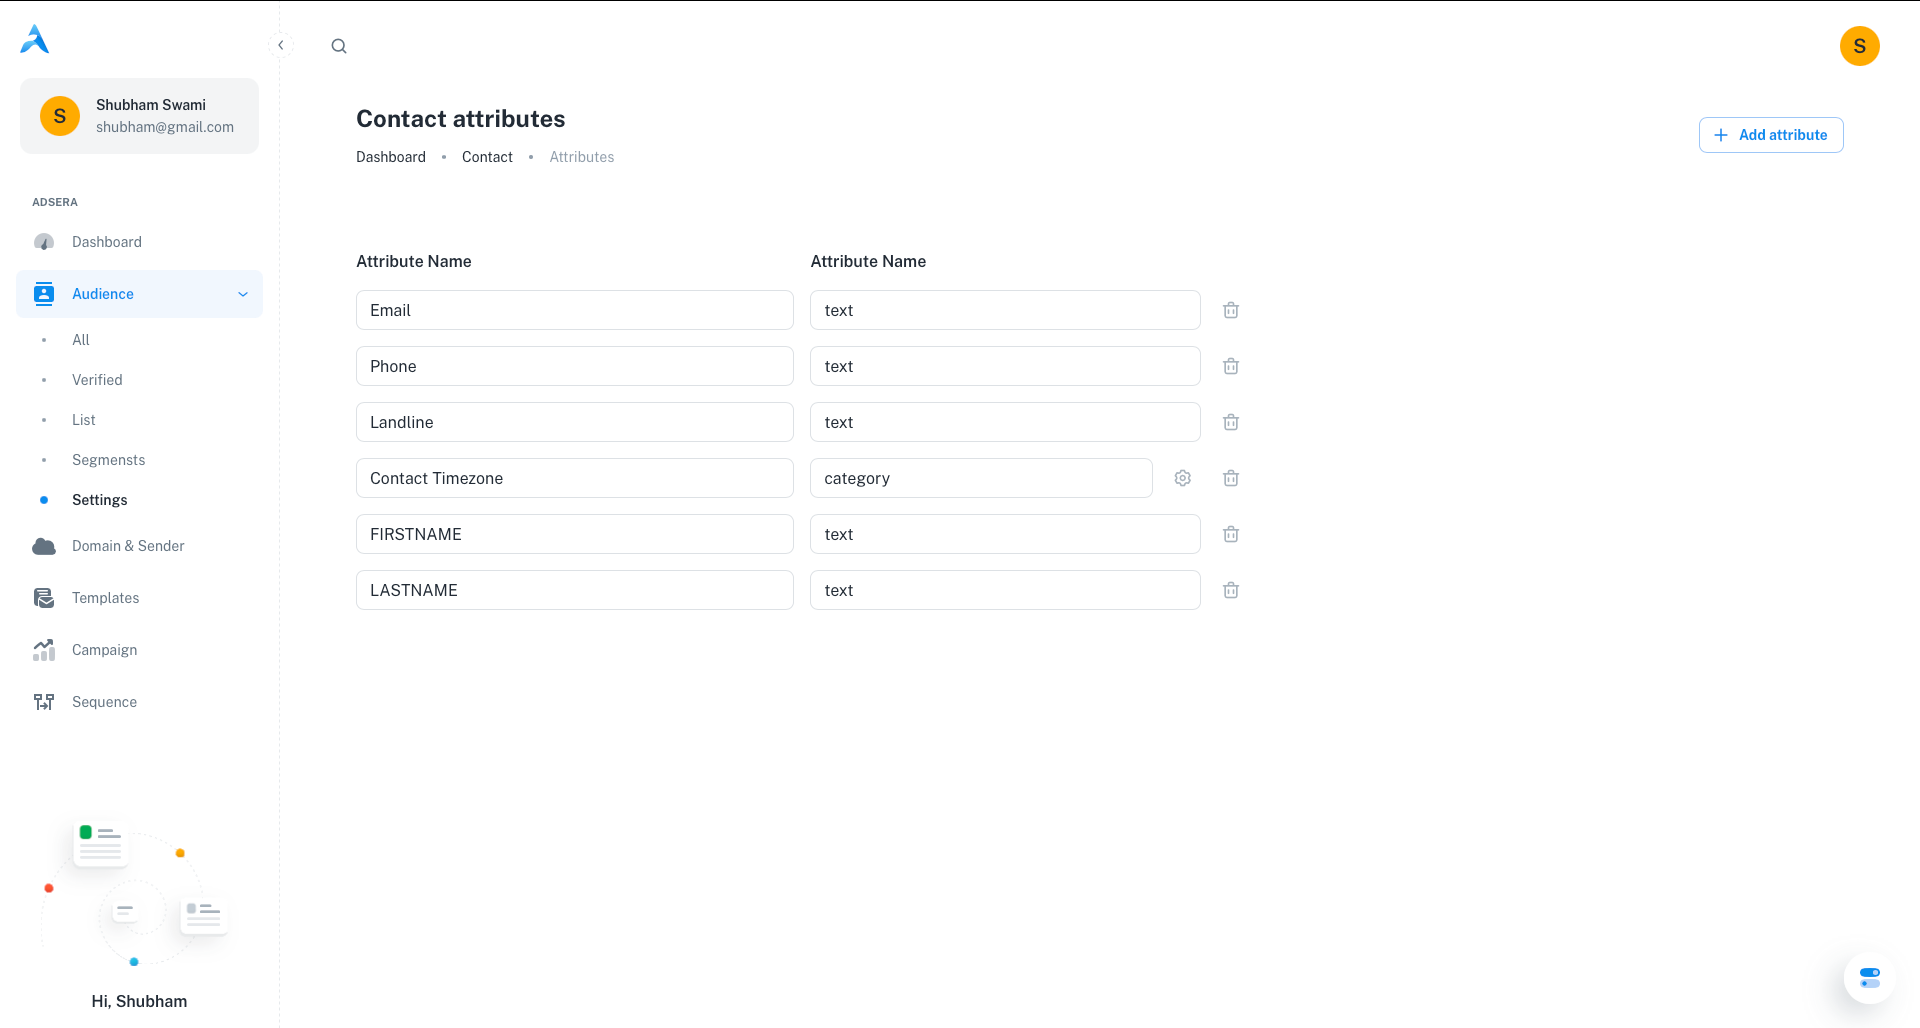
Contact attributes are custom fields used to store additional information about your contacts beyond standard details like email and name. Think of them as personalized data points such as job title, city, product preferences, or subscription tier.
**Want to manage Attributes? [Go to the AdsEra Attributes Settings →](https://app.adsera.in/dashboard/contact/attributes)**
These attributes are incredibly powerful, enabling you to:
* **Personalize** your email and WhatsApp content for a more individual touch.
* **Create** highly specific segments for targeted campaigns.
* **Refine** your targeting in automation sequences.
***
## Creating a New Attribute
Adding a new custom field to store specific data about your contacts is simple.
Click the **“+ Add attribute”** button located at the top of the page.
An “Add Attribute” modal will appear, prompting you for two key details:
* **Attribute Name:** A clear, descriptive name (e.g., "Job Title", "Preferred Language", "Last Purchase Date").
* **Attribute Type:** Select the type of data this attribute will store.
* **Text:** For free-form text.
* **Number:** For numerical values like scores or IDs.
* **Date:** For specific dates like birthdays or subscription start dates.
* **Boolean:** For true/false values (displays as a checkbox).
* **Dropdown:** A predefined list where a contact can only have one value.
* **Multi-select:** A predefined list where a contact can have multiple values.
If you choose a "Dropdown" or "Multi-select" type, you will be able to add the specific choices for that attribute. Once finished, click **Save**. Your new attribute will now appear in the list.
***
## Managing Existing Attributes
For attribute types like **Dropdown** or **Multi-select**, a **gear icon (⚙️)** will appear next to the attribute name. Clicking this opens a configuration modal where you can:
* Add new choices to the list.
* Edit the wording of existing choices.
* Remove choices that are no longer relevant.
To permanently remove an attribute, click the **trash can icon** next to it.
**This action is permanent and cannot be undone.** Deleting an attribute will remove it and **all its associated data** from every contact in your database.
***
## How Attributes Power Your Marketing
Effectively using contact attributes will significantly enhance the relevance and impact of your marketing efforts.
Custom attributes are the building blocks of targeted segments. Use them in the [All Audience](/help/audiance/audiance) filter builder to create dynamic groups like "Contacts where 'Job Title' is 'Manager'".
Attribute values can be inserted directly into your email and WhatsApp campaigns using personalization tokens (e.g., `{{contact.job_title}}` or `{{contact.city}}`) to create highly individualized content.
The attributes you create here can be displayed as columns in the main "All Audience" contact table, allowing you to see your most important custom data at a glance.